Front & Rear · OEM
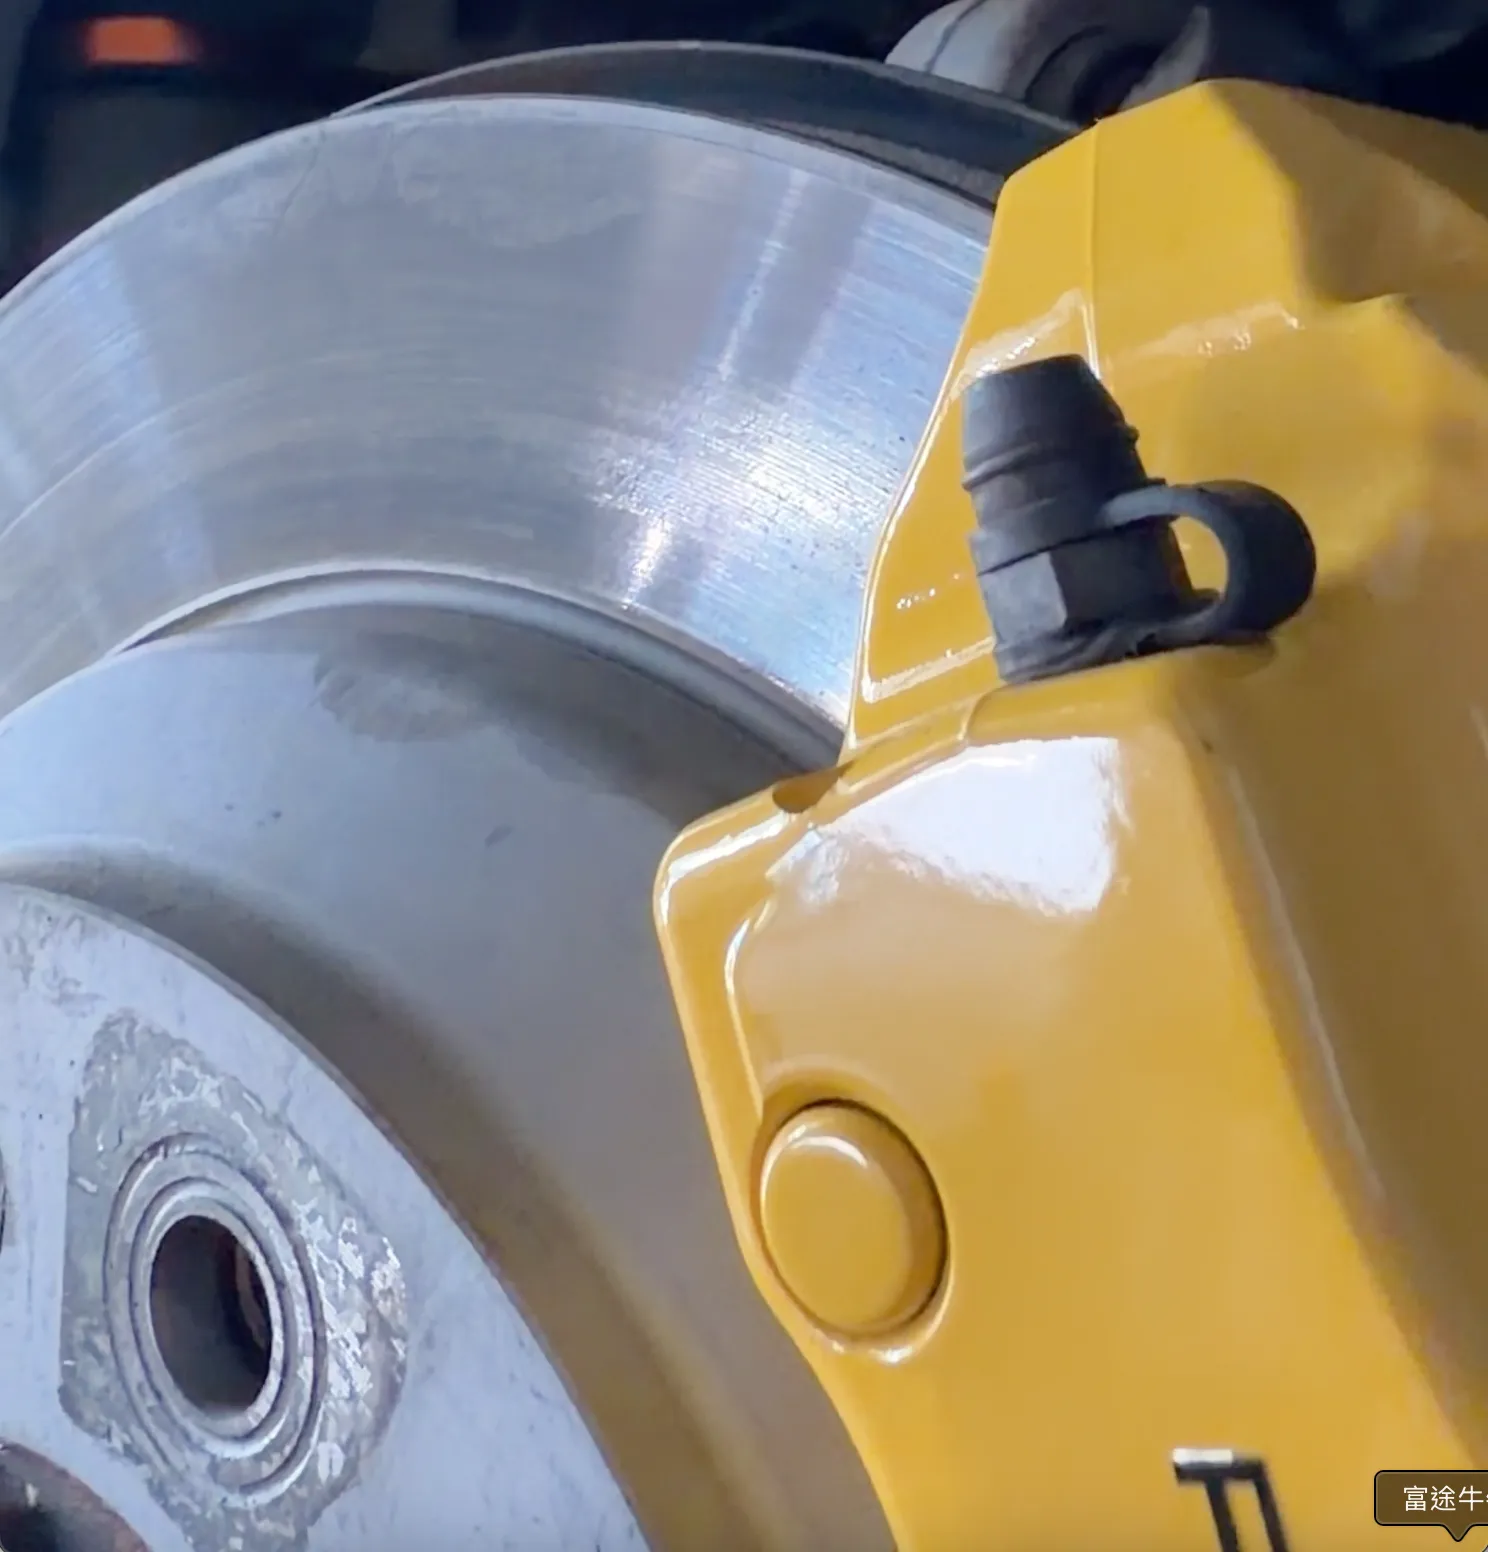
One of the first things I did after buying the car was replace the front and rear brake discs, keeping to OEM spec to restore the braking system's reliability.
2009 Porsche Cayenne 957 3.6 V6 · Family Safari Build
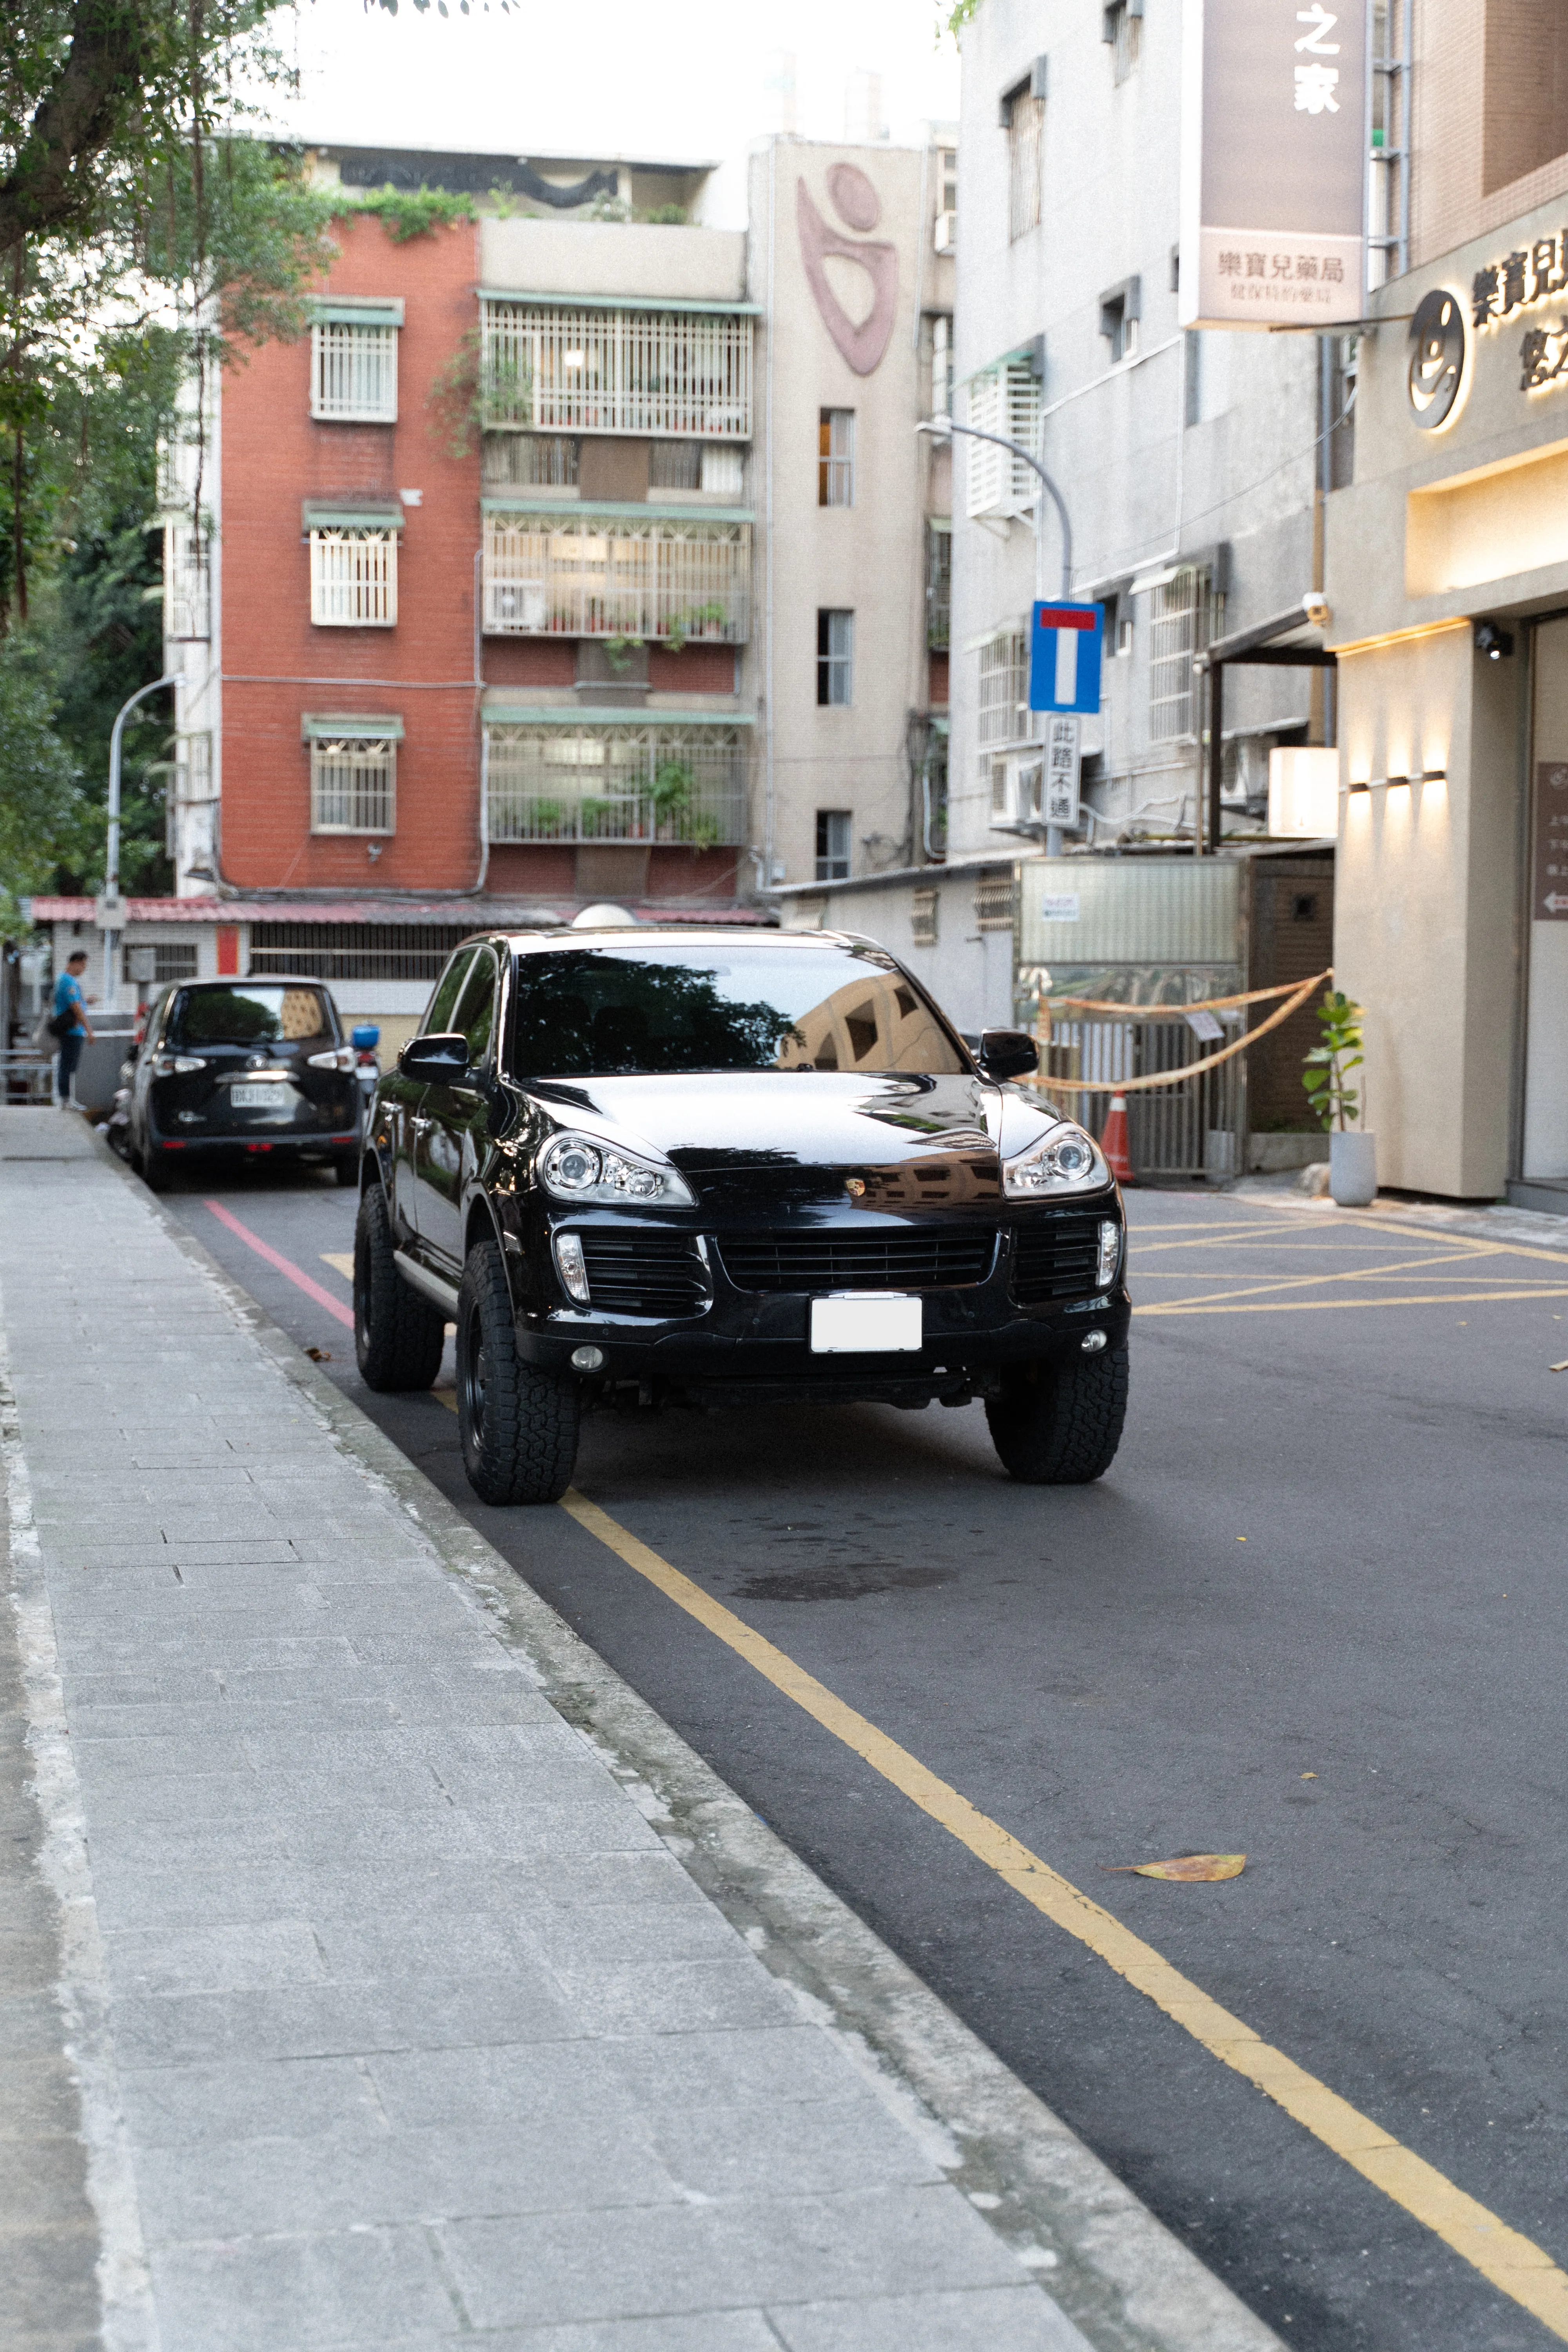
A 2009 Cayenne 957 built into a Safari-style rig that still works as a family car.
The brief was clear: without giving up the Jimny, find something with more room — able to carry the family and handle long trips, while keeping some real capability off the tarmac.
I worked through a Land Cruiser Prado 250, a Defender 110, a Wrangler Rubicon, and a Forester.
Then I saw a first-gen Cayenne that had been properly refreshed.
It could carry the family, cover long distances, and still had genuine off-road ability. More than that — its looks, its proportions, and its mechanical feel had far more potential than I'd expected.
That was the moment I realised I wasn't looking for another safe answer.
I was looking for a car that could fill the Jimny's gaps, fit the family, and be worth the time to reshape.
In the end, I found this 2009 Cayenne 3.6.
Any upgrade should be built on reliability first.
When this car came to me, phase one wasn't modification — it was bringing it back to the state it should be in: the basic fluids and services done, then working through the parts that age out, one by one — spark plugs, transmission filter, driveshaft boots, brake discs, lower control arms, and sway-bar bushings.
The exterior and interior got the attention they needed too — refreshed headlights, a cleaned-up cabin, and a new head unit chosen to sit closer to the OEM look while suiting modern use.
I didn't try to swap everything out at once.
Drive it first, observe, then handle issues as they actually surface. That's not just about budget — it's about building my own understanding of the car, and my trust in it.
For a car this age, what really matters isn't "all new" — it's knowing exactly where it stands, understanding every issue, and being sure it can see the road ahead through with confidence.
What I set out to build wasn't a loud off-road machine — it was a Safari-style Cayenne that can switch between everyday life and travel.
The whole direction stays deliberately restrained: a limited palette, simple lines, and proportions that make its purpose clear at a glance.
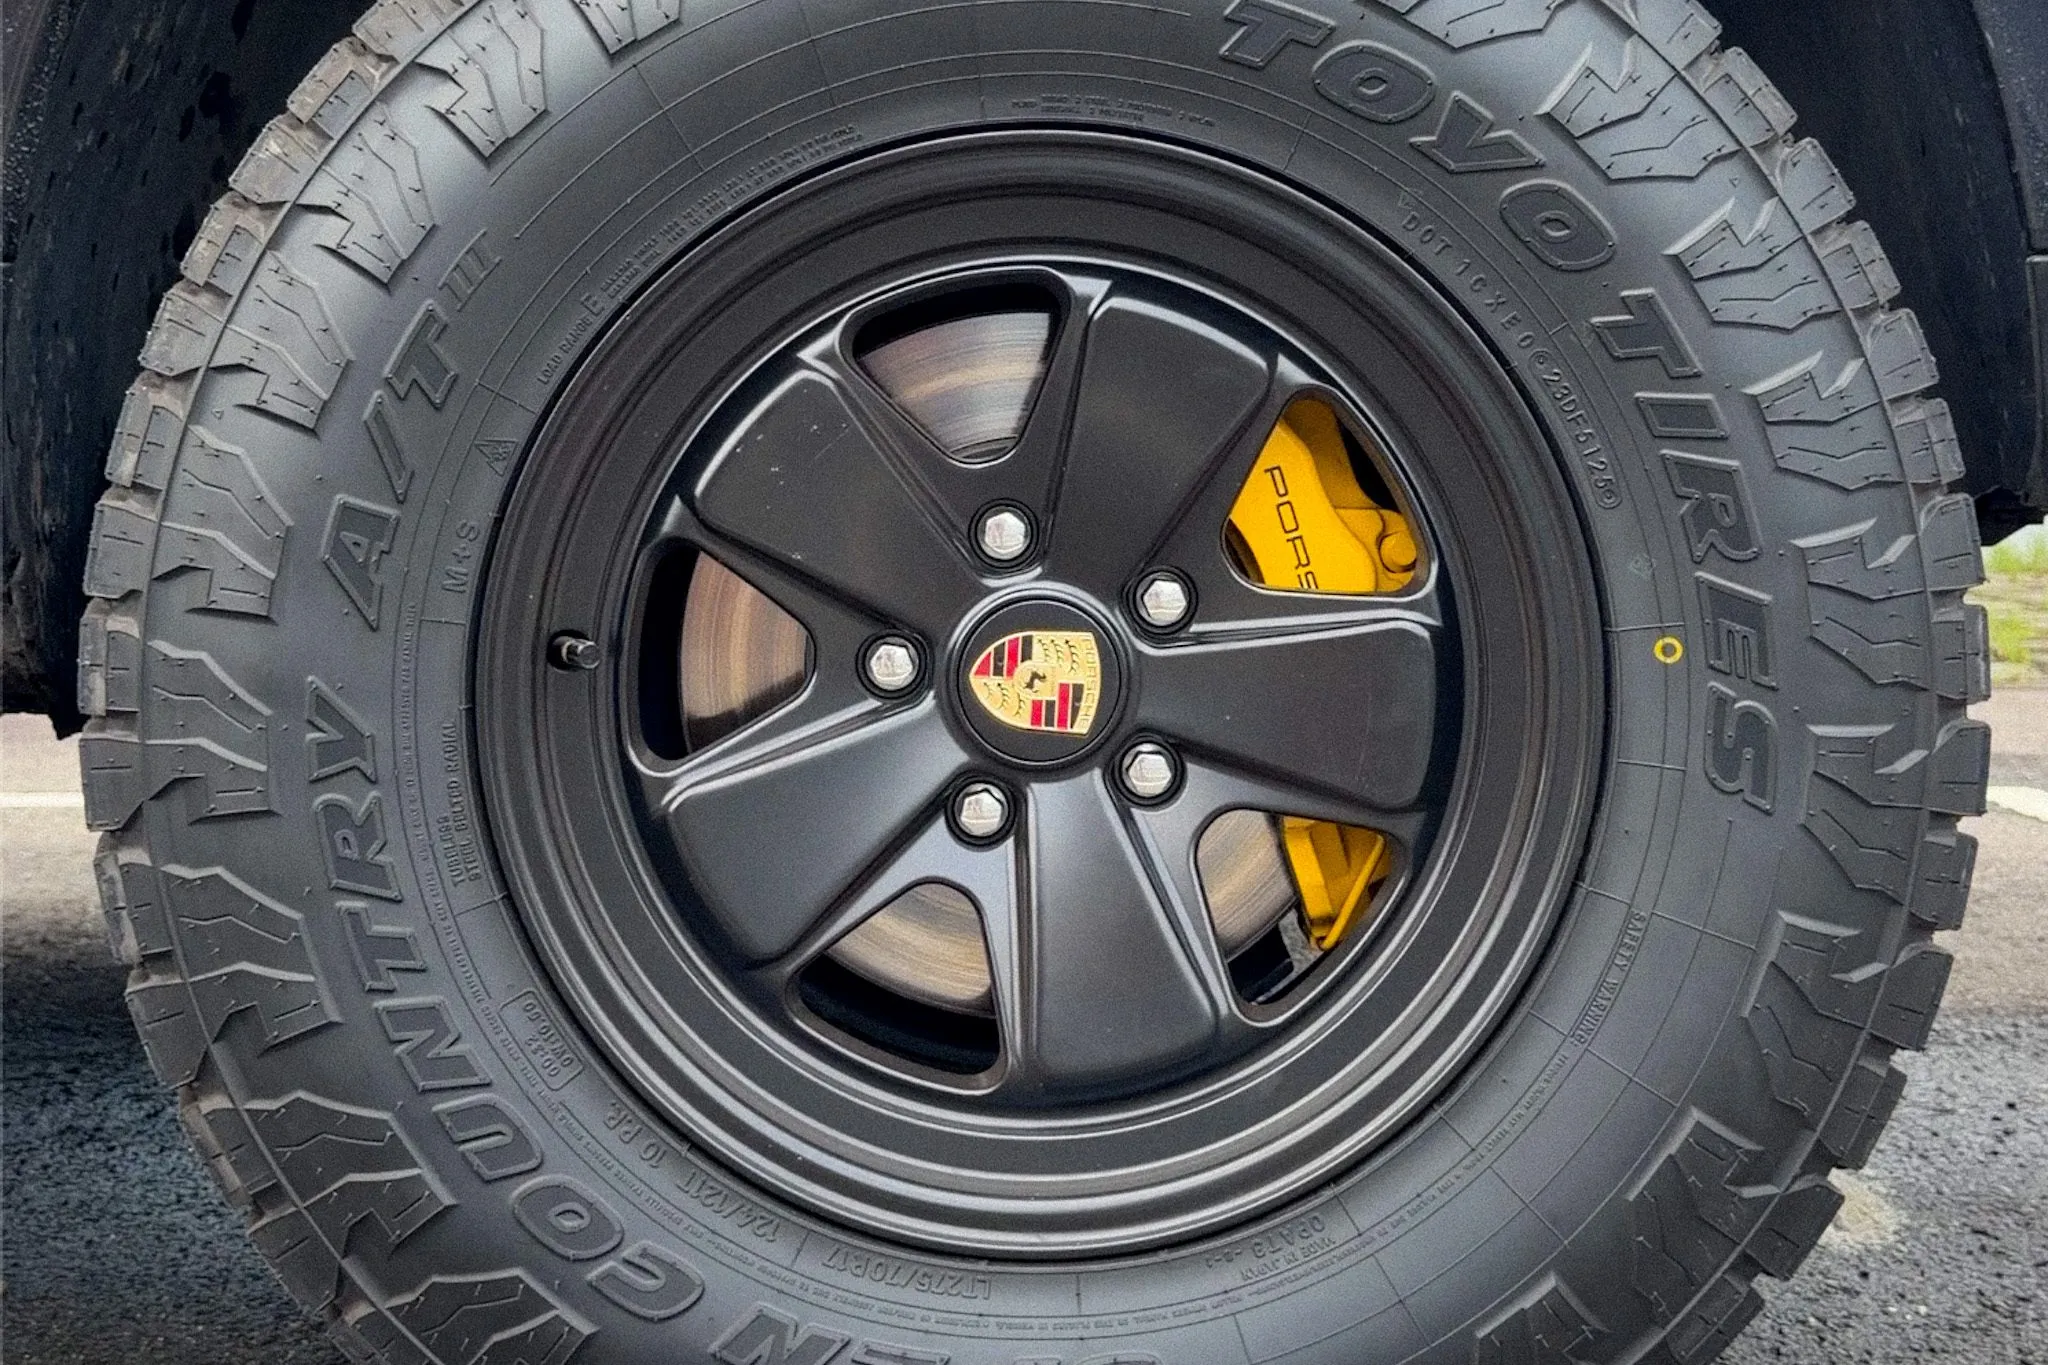
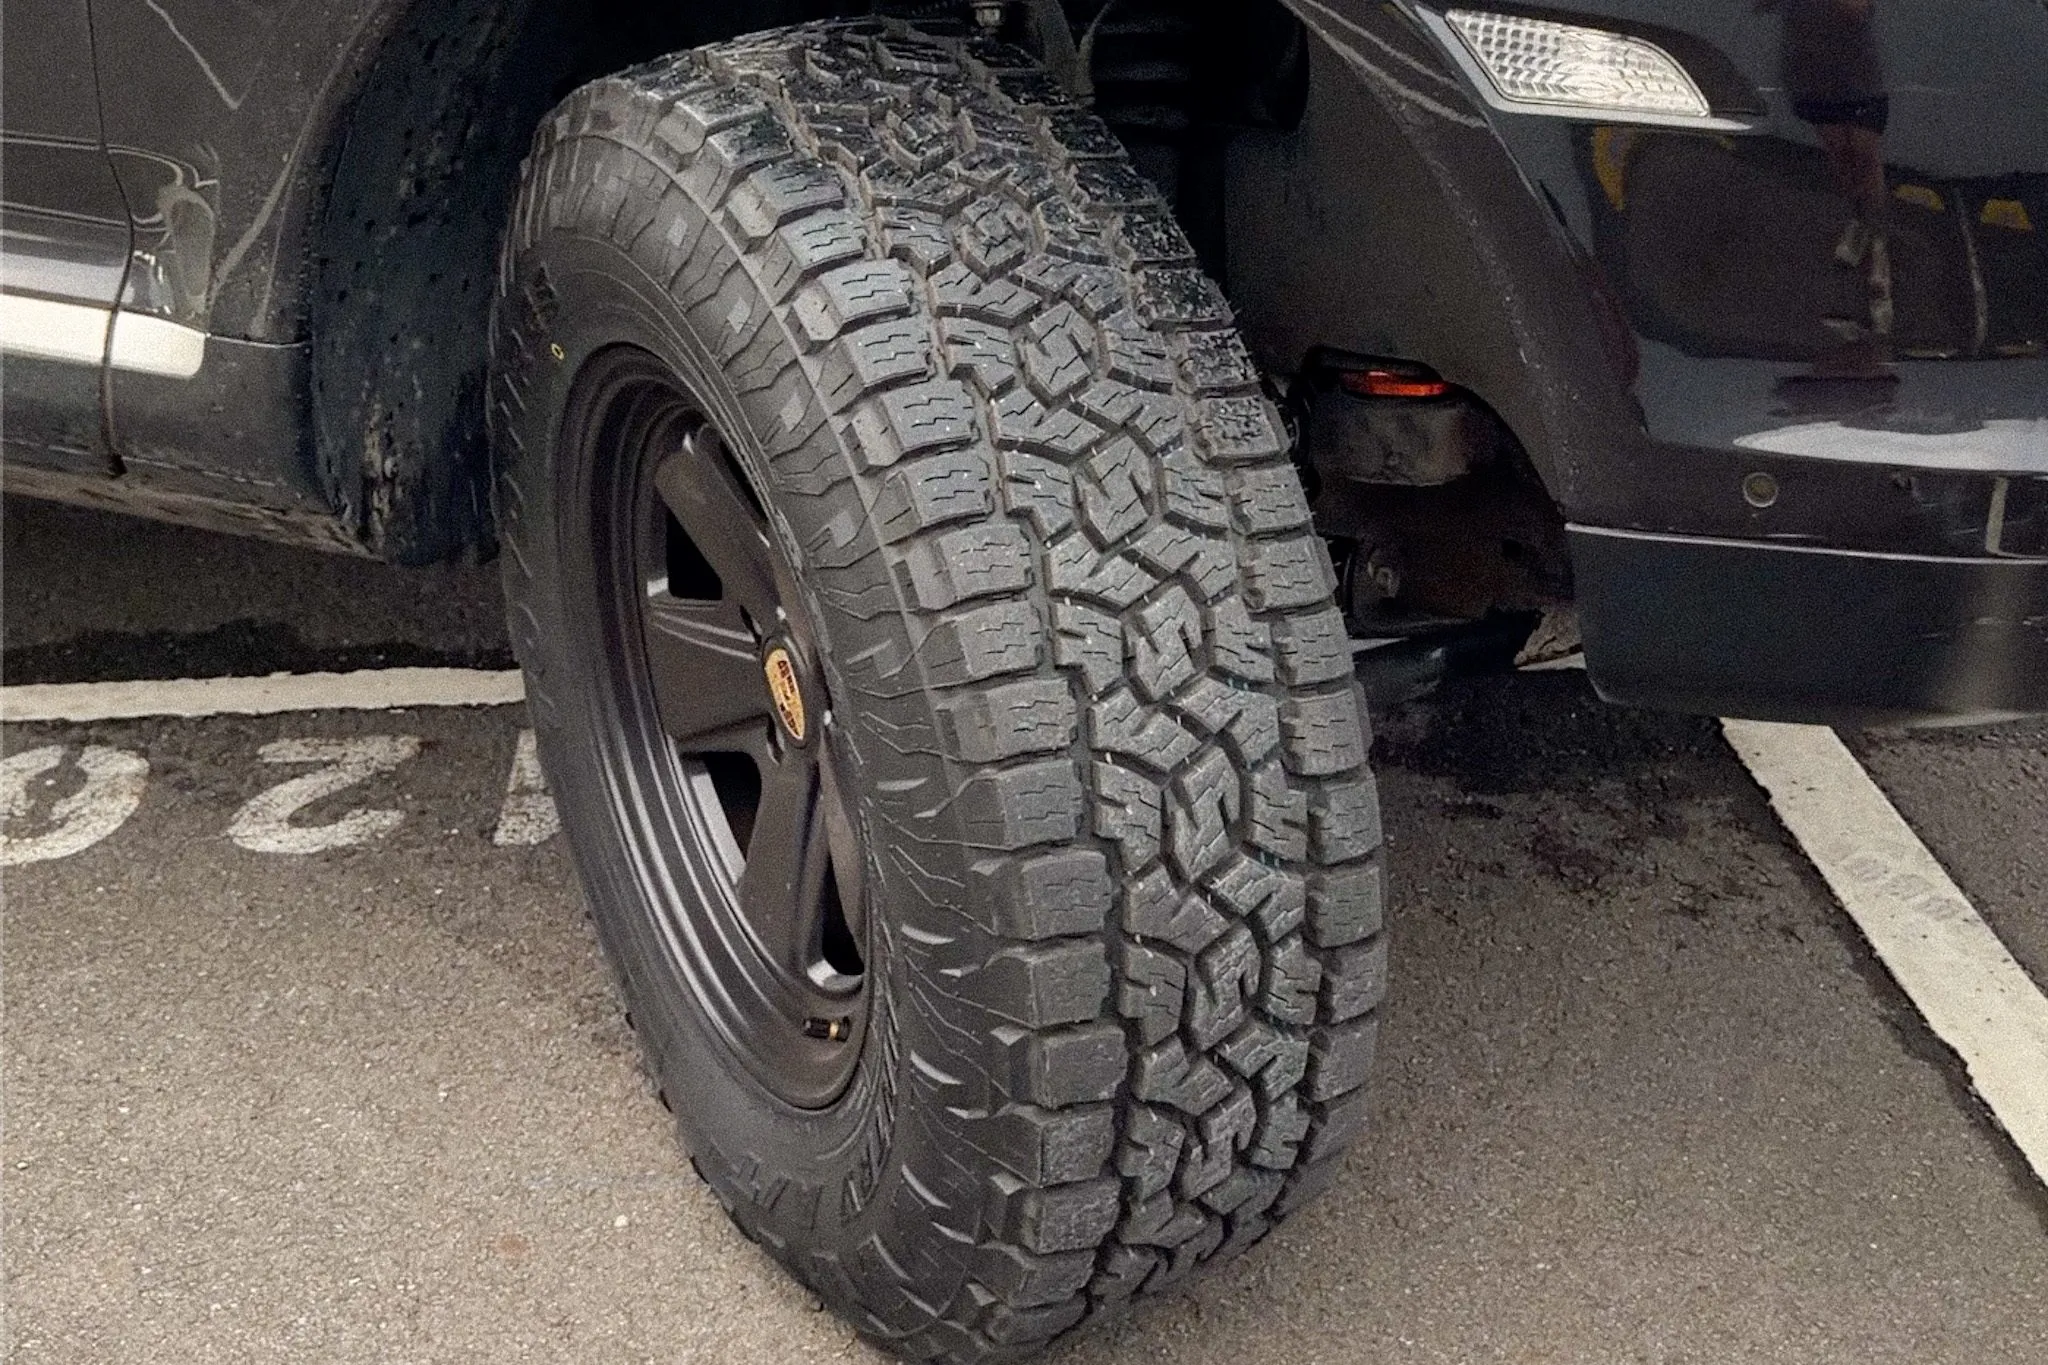
The final setup runs a 2.5" lift on 17 × 8.5J wheels — ET25 front, ET15 rear — with 275/70R17 all-terrains. It isn't about chasing big tires; it's a balance between the look, the clearance, the sidewall, and how the car actually gets used.
To make room for it, I removed part of the side skirts and the front lower splitter, and adjusted the spots where rubbing could happen.
What I wanted was better capability, a setup better suited to travel, and a stance that genuinely fits my eye.
This project will never really have a "finished" day.
From here on, I'll keep logging its maintenance, repairs, upgrades, and real-world use — what I did, why I did it that way, and whether each change was genuinely worth it.
New problems may still surface, and it may keep changing as the way I use it changes.
What's recorded here isn't a checklist of a finished product — it's the process of how an old car keeps being used, understood, and improved in real life.
Front & Rear · OEM
One of the first things I did after buying the car was replace the front and rear brake discs, keeping to OEM spec to restore the braking system's reliability.
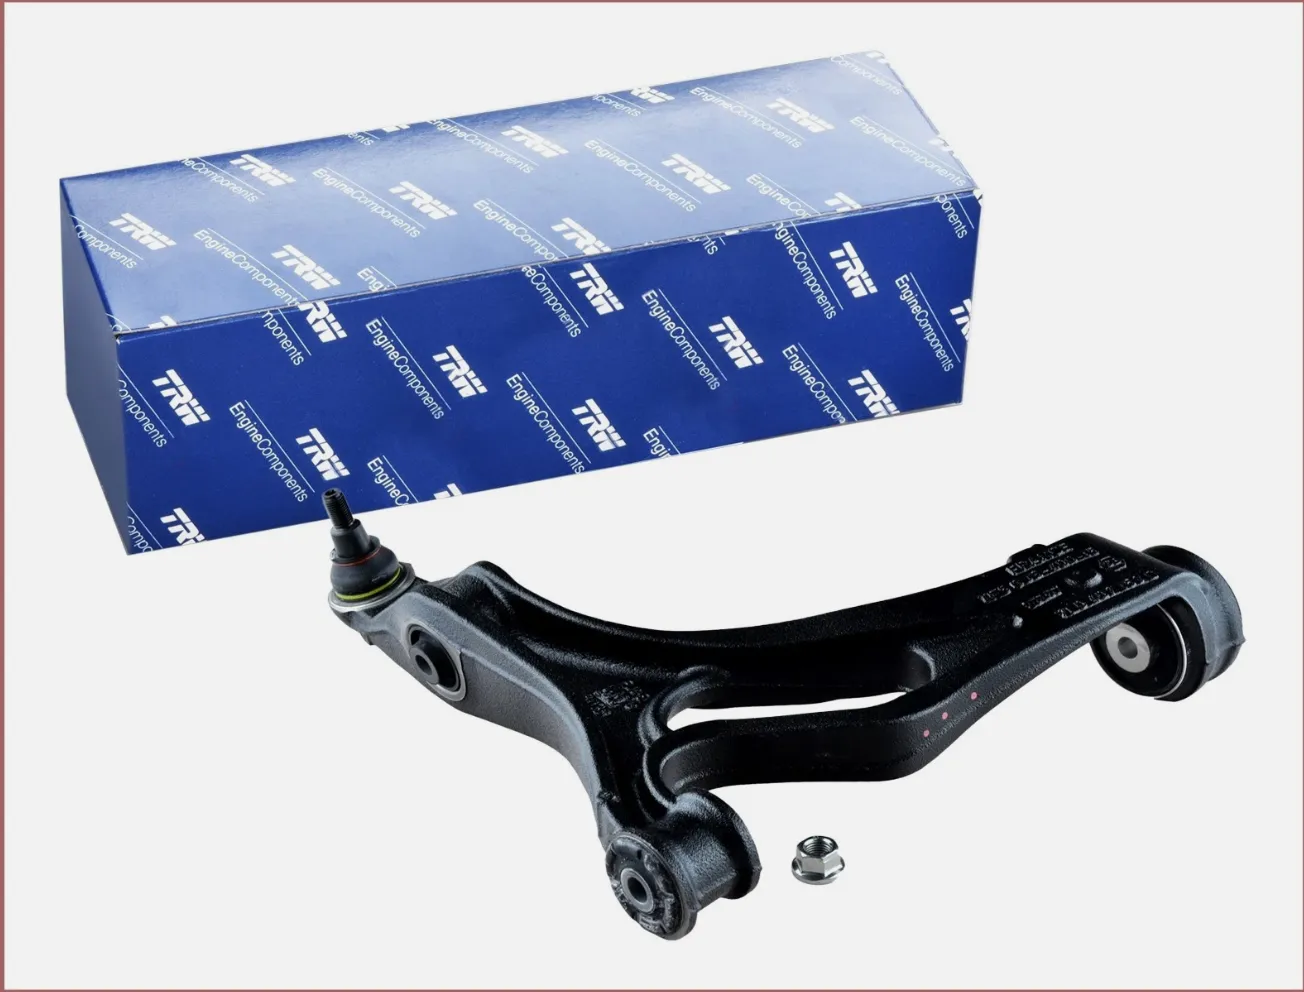
Front · Lower Control Arms
The front lower control-arm bushings had cracked, so I replaced them with the complete TRW assembly. The large and small bushings and the ball joint were done in one go, restoring steering feel and chassis stability.
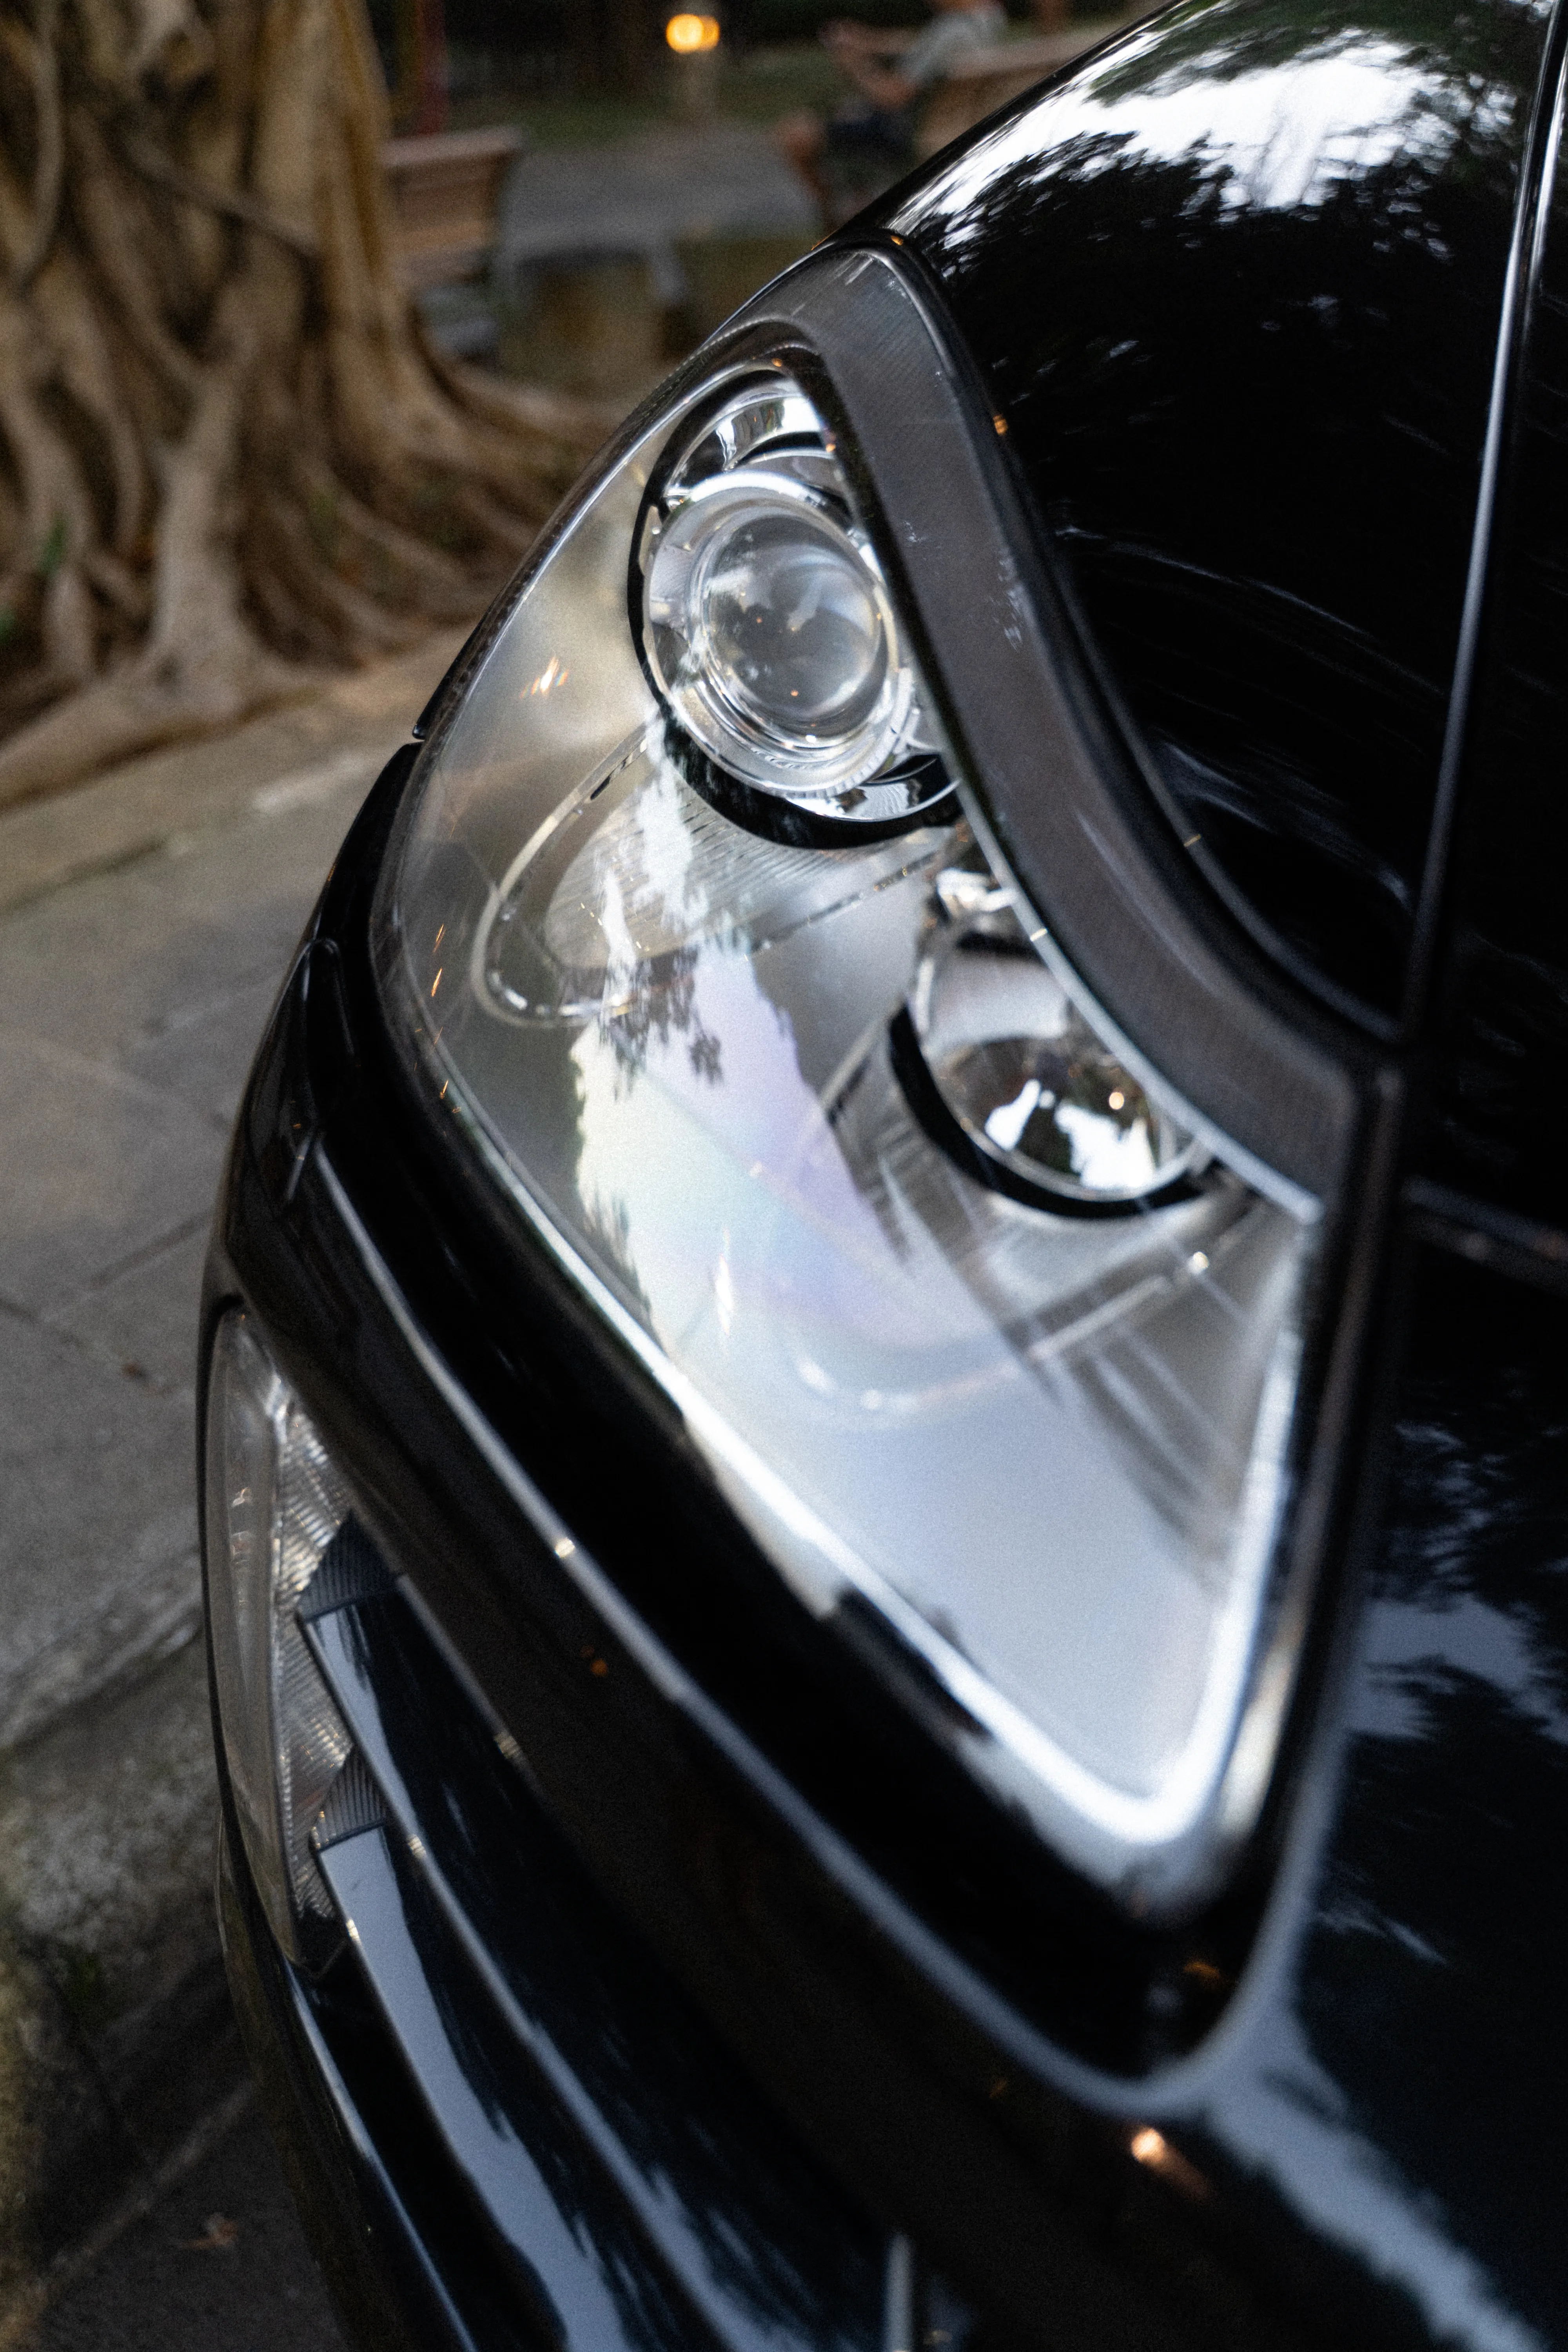
Original Bi-Xenon Headlights · DIY Lens Restoration
The original lenses had hazed and yellowed, so I restored them myself to bring back clarity — improving the look while keeping the factory headlight units.
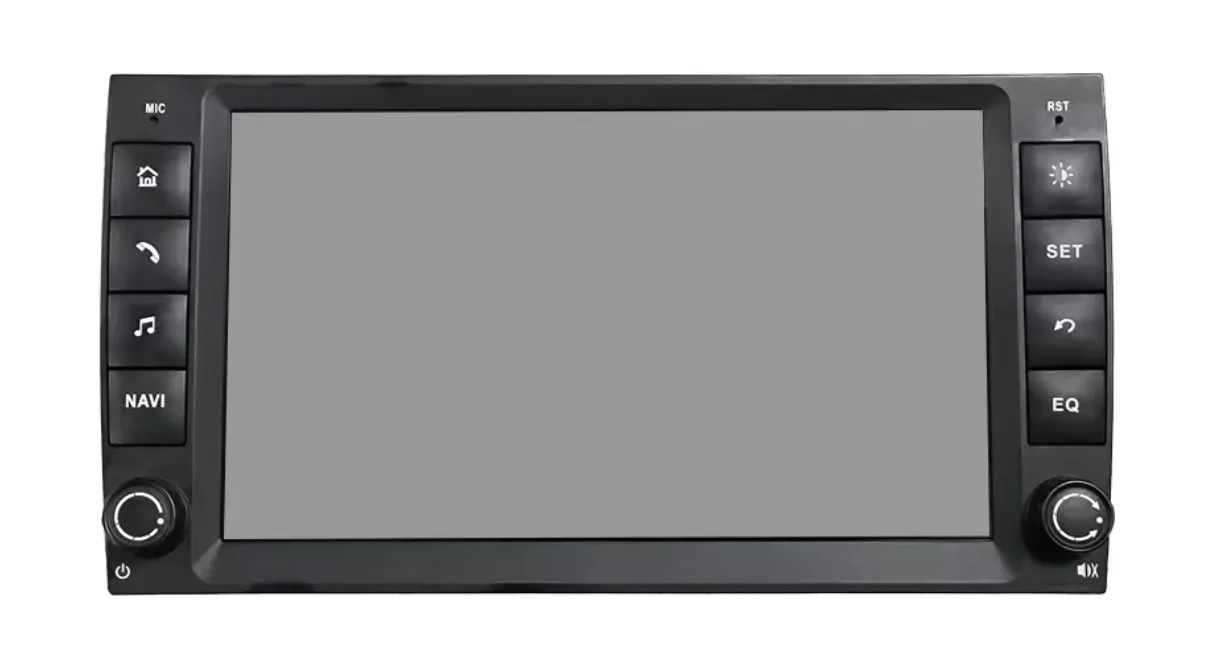
957 dash · OEM-look
Swapped it in myself. I deliberately picked the model closest to the OEM look — a consistent interior matters more to me than a few flashy features. It should look like it was always there.
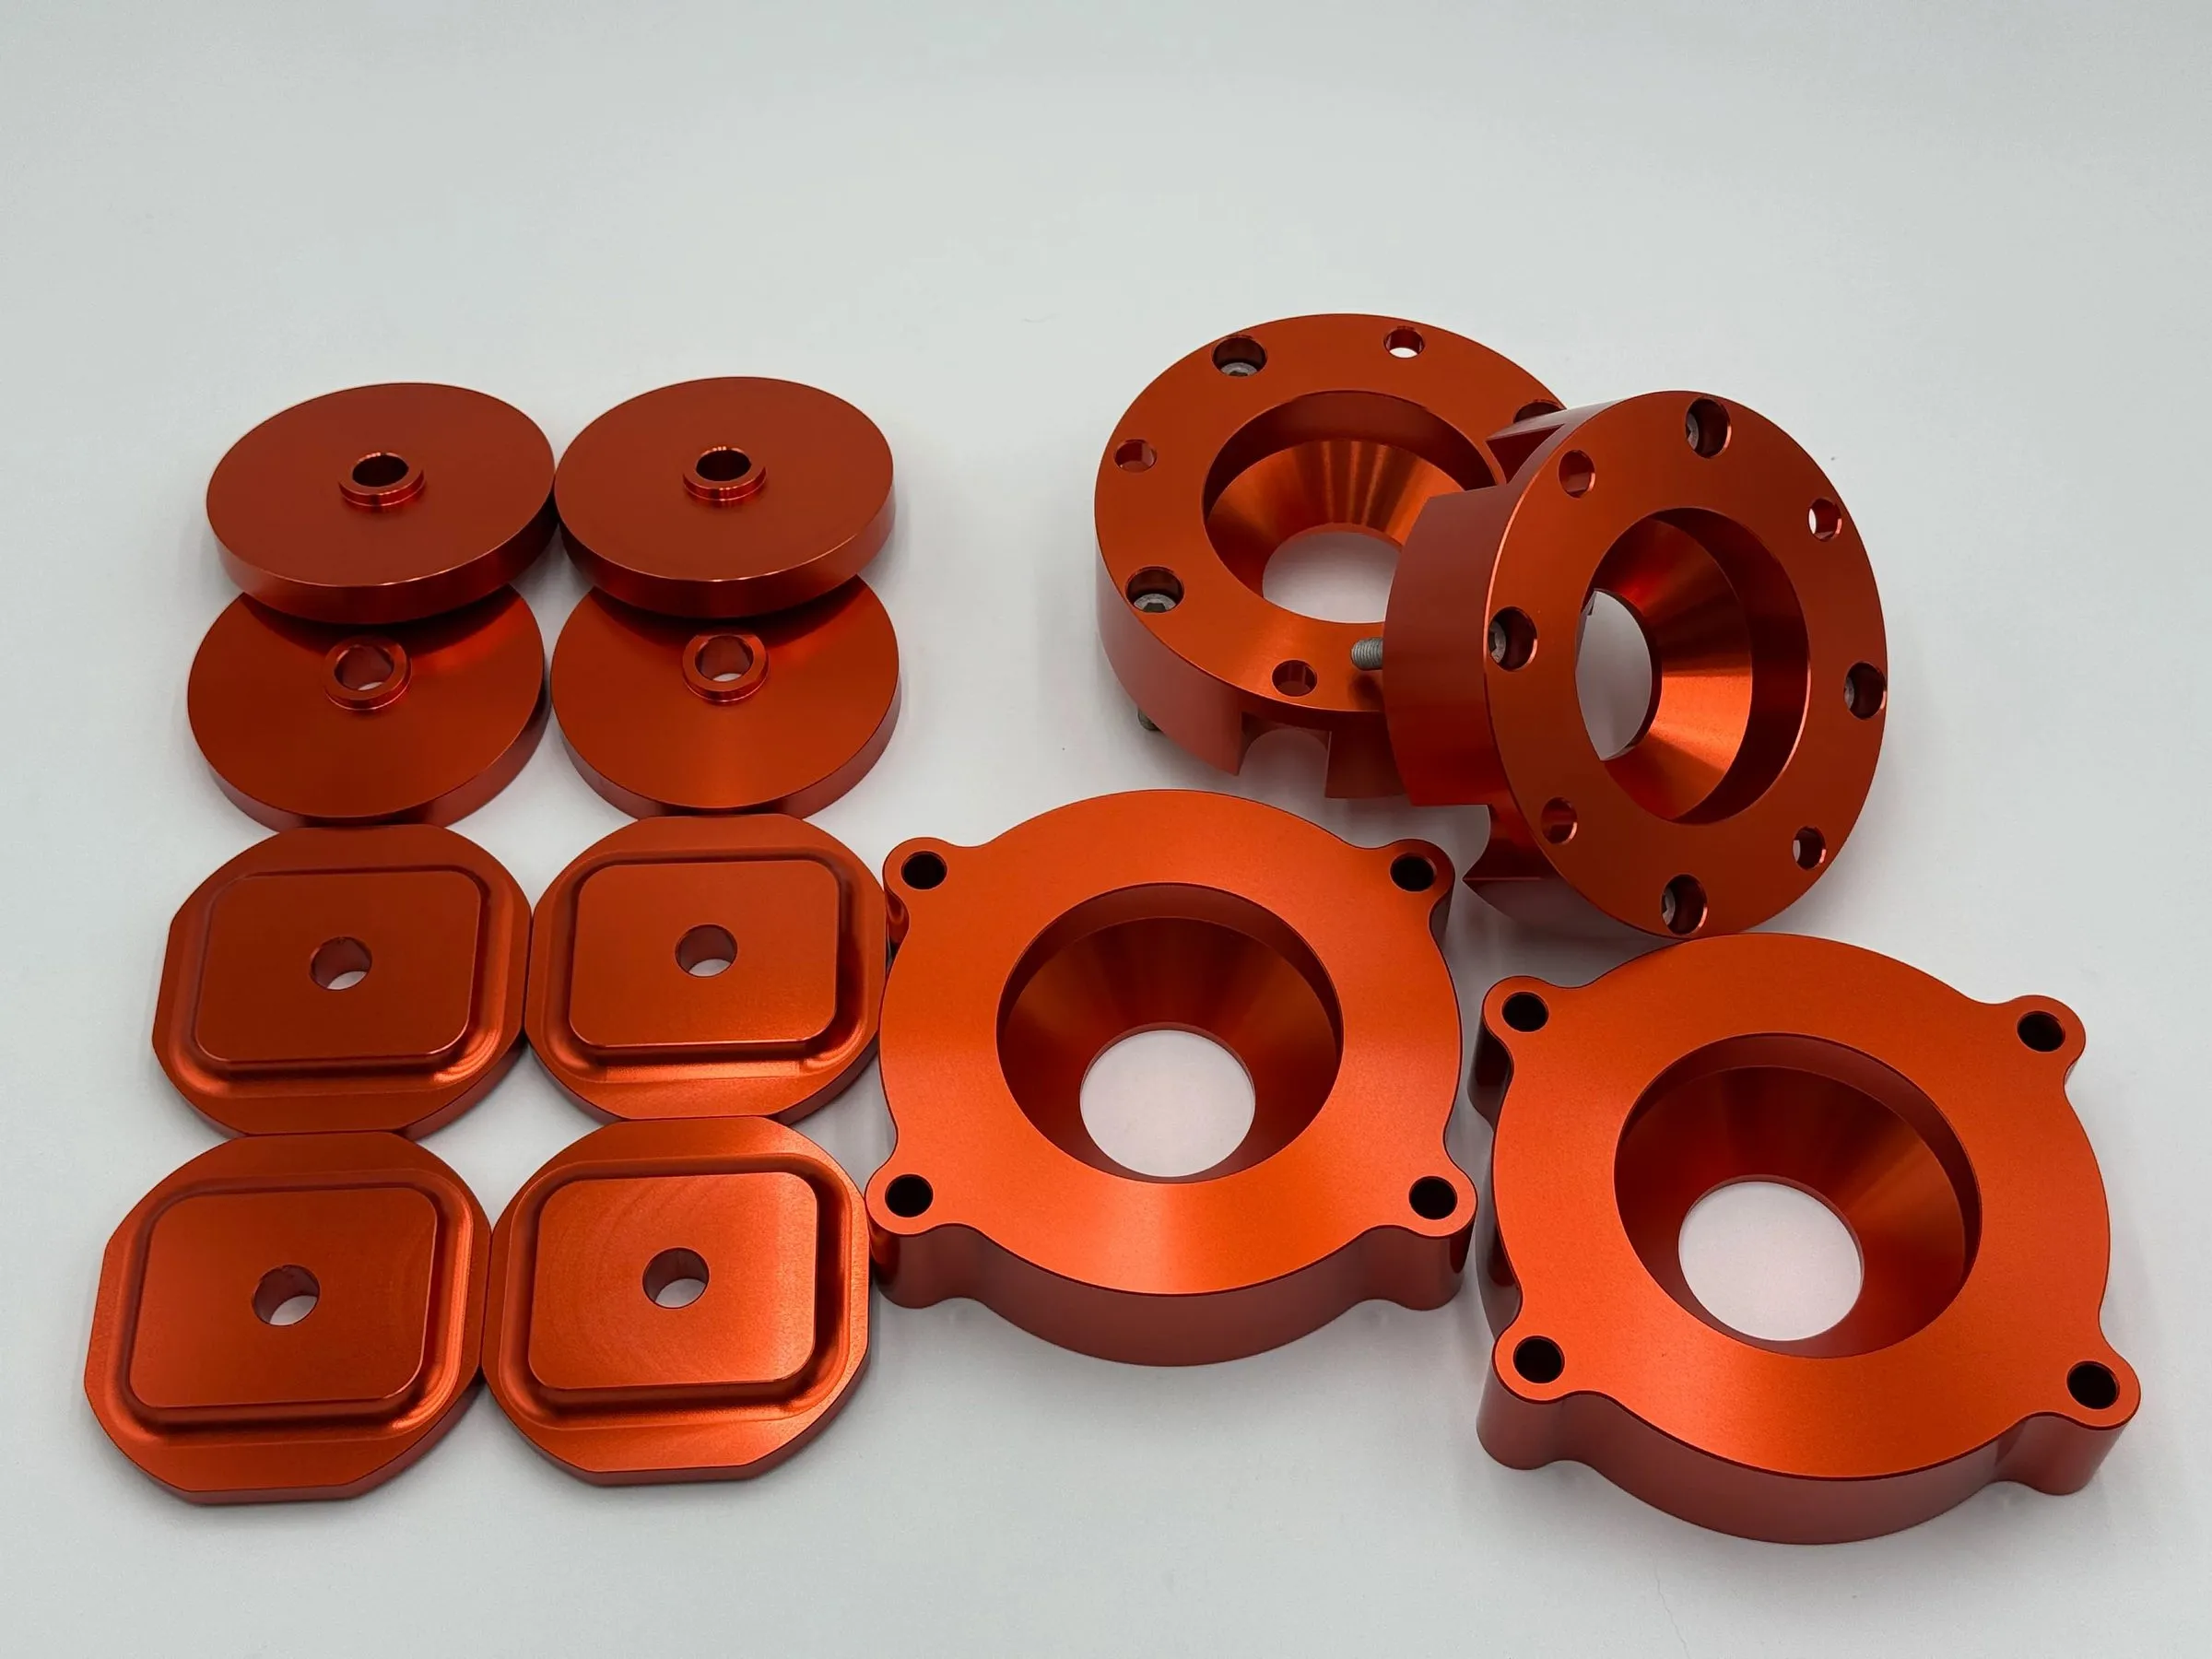
2.5" (F/R) · 1/2" · 6061 Billet Aluminum
I went with 2.5" of lift — for a family car that carries kids, that's the balance between clearance and ride quality, and anything taller costs more than it's worth to me. It's a lift-plus-subframe-drop combo that corrects the driveshaft angles and bushing loads after lifting, which is what keeps it reliable and easy on tires long-term.
17×8.5 · F ET25 · R ET15 · 5×130
Seventeens weren't a looks call. With the 2.5" lift they just clear the rubbing that would force cutting the metal behind the front arch, and the 17" keeps more sidewall. Looks, clearance, proportion — they all line up.
275/70R17 · All-Terrain
This car handles family, cargo, and long highway runs; off-road is the small slice. For that real mix, an A/T is the honest choice — it doesn't pretend to be an off-road machine.